Pinterest has been such an inspiration this year. As long as I don’t let the time get away from me too badly (admittedly easy enough to do), I feel like I get a ton of good ideas for the future. And more importantly I’ve already started multiple projects because of ideas I’ve gotten from other Pinners. It’ll be interesting to see if things like Facebook and Pinterest are around when the kids are grown up and come back to this scrapbook to see what the good ‘ol days were like. For now, it’s a phenomenon. Pinterest, I mean. 🙂 Anyway…
Here’s one idea. I actually did a similar project for a Harvest Party I put together for the kids a few years ago while I was working at the Joshua Tree Library as the Children’s Librarian. It that instance, I created a tree out of brown paper and die cut leaves on poster board. All the kids who came to the program wrote down one thing they were grateful for and glued their leaf on the tree.
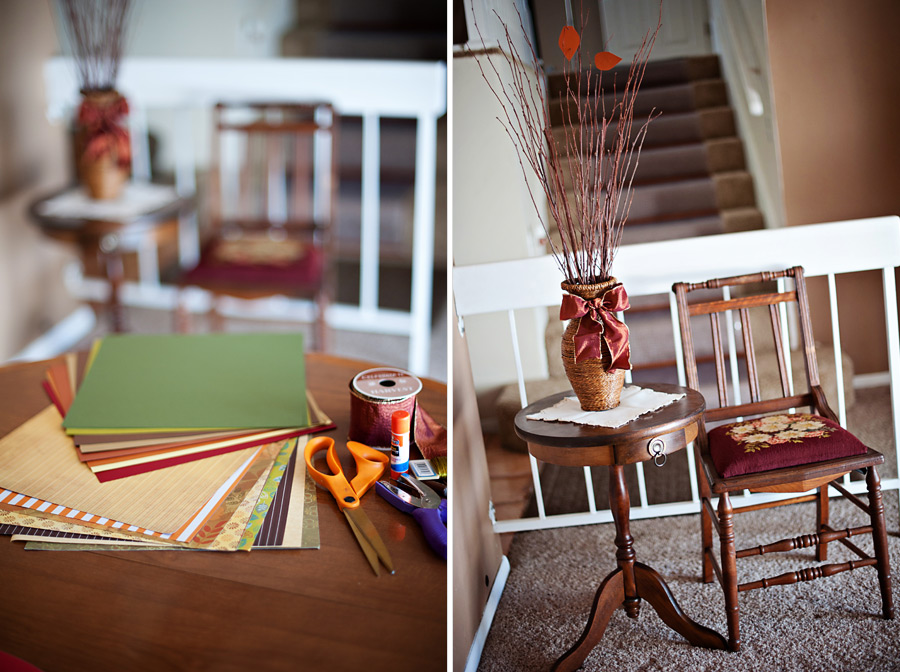
It’s a pretty common idea, the “Thanksgiving Tree”, but seeing different visuals online and combining those ideas with ideas of my own, gave it a breath of freshness for me. The basic idea is for each participant to write what they are thankful for down on a leaf and display it on the tree, usually 1 per day in November, leading up to Thanksgiving. Here’s what I’ve come up with so far.
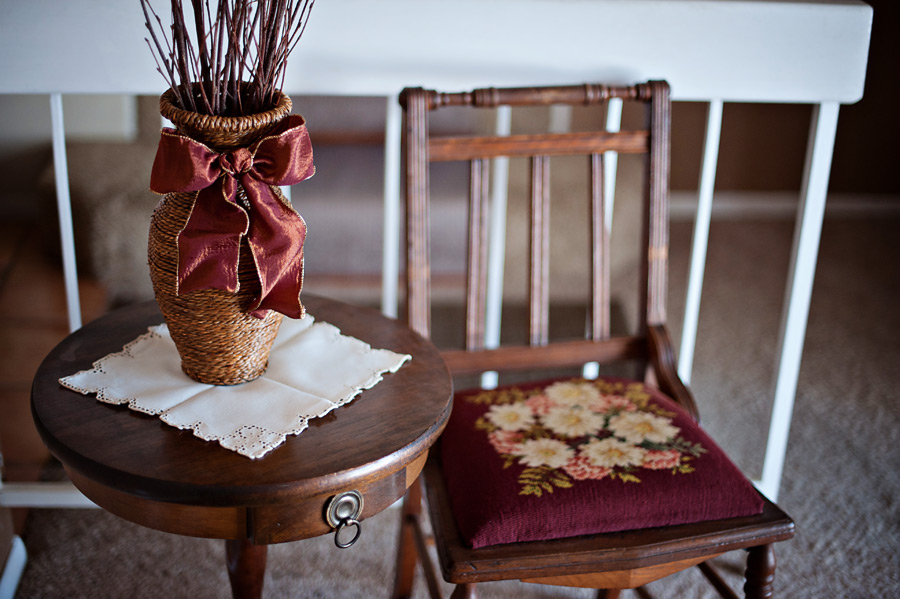
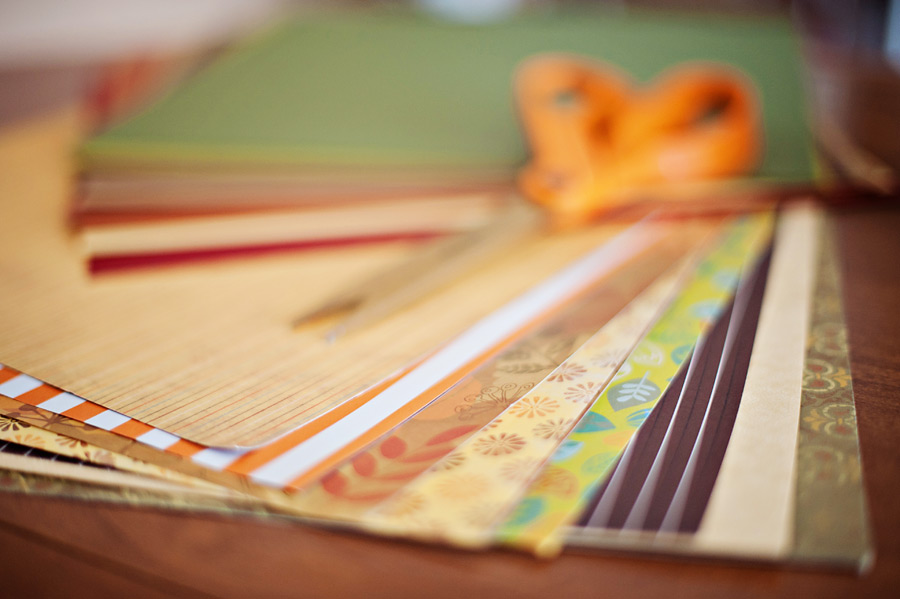
I found the awesome vase in a 40% off sale at Michael’s, got the ribbon for cheap and bought the scrapbook paper also on sale 5 sheets for $1. The table I salvaged from a moving neighbor who was going to throw it away. The chair is an antique embroidered by my Great Grandma (Adela’s great, GREAT Grandma!). The same amazing woman also created the pretty little embroidered edge napkin underneath the vase. I have about 2 dozen different napkins she made by hand and a few quilts and tablecloths as well. I wish I’d had the chance to meet her. She was incredibly skilled.
The only expensive part of this project is the twigs. I’m ashamed to admit how much they cost. I couldn’t think of a tree type around here that would have worked to create the look I wanted. So I decided it was worth it (even at about 20 bucks), and hopefully they’ll last me many years to come.


I’m still trying to decide how to attach the leaves, which will be made out a variety of harvest colored papers. These are the three ideas I’ve narrowed it down to. The easiest is to simply punch a hole in the leaf and thread it onto a branch (left). I have a small scrapbooking hole punch which works nicely. The drawback is that all the leaves point down with this method. The second option is to punch a hole and then thread a small piece of floral wire through the hole attaching the other end to a branch (top). The wire is cool because it allows you to control the angle at which the leaf is diplayed. The third option? Cutting out 2 identical leaves and gluing the floral wire in between the 2 pieces, the most labor intensive method but also the prettiest. Craig also pointed out that the sandwiched wire looks like the vein of the leaf. Kind of cool. The jury is still out which method I’m going to stick with.


It’s going to look so pretty when it starts to get filled up with assorted leafs, colors and grateful thoughts. Also, I plan on keeping all the leaves from every year and doing something with them… maybe making some kind of paper garland… so that we can remember what we were grateful for in years past. Wouldn’t that make a cool decoration of sorts? That’s what I’m thinking anyway.
Adela is still too young to understand the concept of this tradition, but I want to start implementing some traditions now so that I’m not hit with it all at once. Besides I can’t think of a single person (myself most definitely included) that couldn’t stand a little more gratitude and a little more reflection on all the good things in life.
.png)
Mandy McMahan - Ok, first of all … your photos look GORGEOUS here. I’ve really been into very low post-processing and I love the natural look of these. Gorgeous. Like, I could look at these for several more minutes and just sigh at their beauty. 🙂 Now, second. Big surprise here. We’re doing a thankful tree, too. Except we’re doing it the way you said you did it at the library. I’ve asked my mom for a bunch of huge sheets of colored paper (she’s a 3rd grade teacher) and I plan to make a poster-type tree for our laundry room door. Since this is Emma’s first year at school, I want to make this super interactive for her and making a paper poster tree seemed like a school activity. I totally have the stuff to make the decorative tree (and wanted to do that last year but never got around to it) and I think we’ll do that in later years. I love what you’ve put together — it looks so pretty. I wish I had a little more time to post my projects on my blogs too — I’m so grateful for yours. They’re all so fun to read. (P.S., I think you would rock at Project Life … I’ll write you more about that last message you left me about it giving you anxiety later.) 🙂